|
How to Take Before and After Photos
Learn How to Take Before and After Photos to Best Show Off Your Accomplishments
|
|
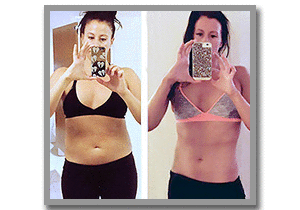
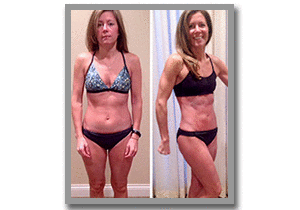
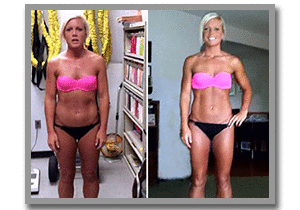
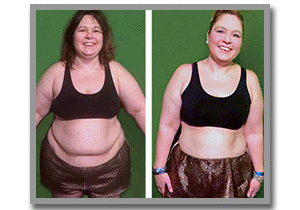
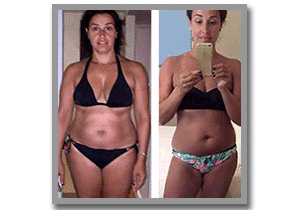
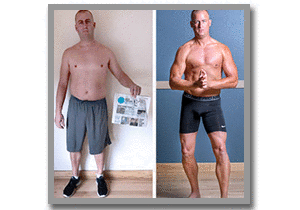
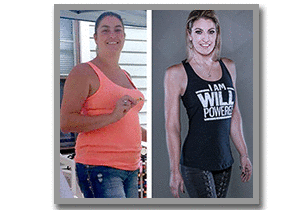
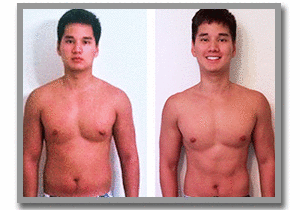
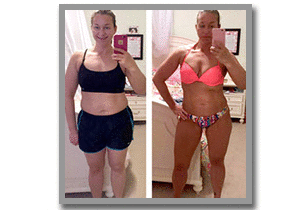
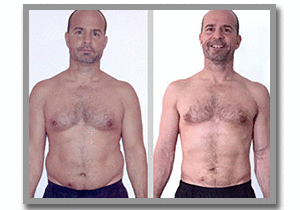
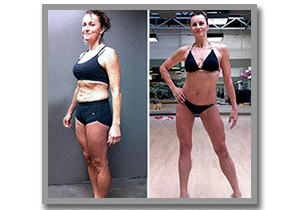
Why Take Before and
After Photos? Whether you want to do Isagenix as a business or simply to lose excess weight and gain energy ~ your ‘before and after’ pictures are an important tool for your success. Some people don’t like to take pictures. They may be shy or embarrassed. But in your journey to better health ~ nothing is more encouraging than to be able to look back and see just how far you’ve come. Healthy weight loss is a gradual process. From day-to-day you may not notice the changes that others will see. Taking a series of ‘progress’ photos every month or so will help keep you motivated and on track to achieve your health goals. And if you do decide to build an Isagenix business ~ your before and after photos will be a powerful, visual focal point for your Isagenix success story. |
|
Photo Do's and Don'ts
A few tips to help you take the best before, during and after photos.
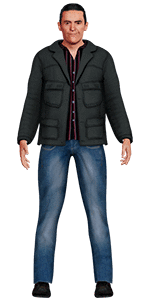
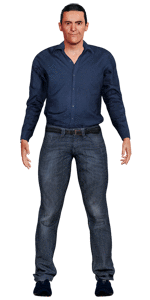
1 - What to Wear
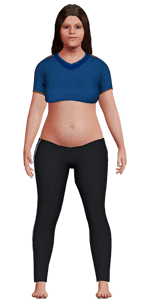
BEFORE: This is where you're starting from ~ where you set your goals. Later, you'll want to see where you came from to really appreciate how far you've gotten.
 Can't really see you!
 Better, but...
 Perfect !
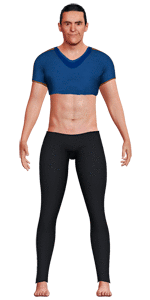
AFTER: For maximum impact, wear the same outfit in both your before and after photos. Wear an outfit that will show off your achievement. Nothing baggy or oversized.
 I know you're in there
 A little better...
 Perfect !
2 - Posing
You're looking for full body shots - from head to toe. Relax and just be natural - don't suck in or push out. Take a few shots each from the front, back and side so that later you can choose the ones you like best.
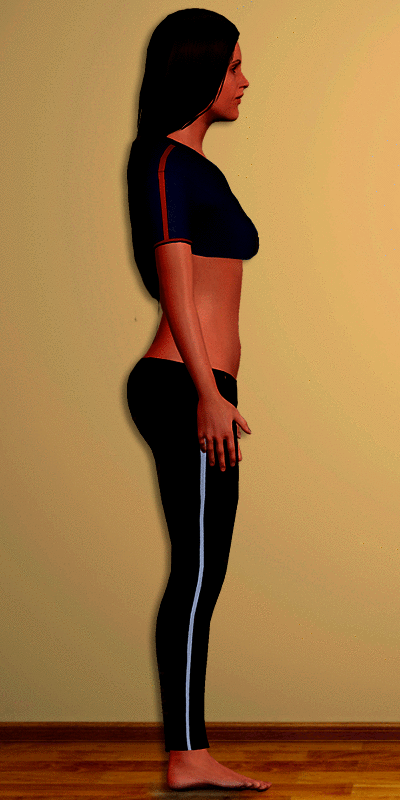
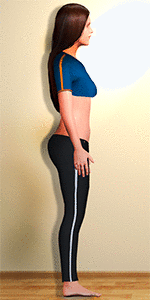
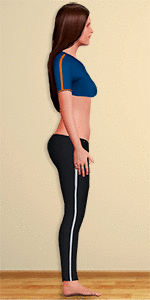
Stand up straight with your feet hip-width apart. Arms at your side ~ floating off your hips
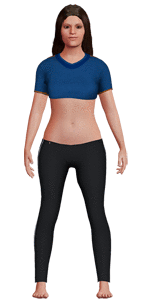
BEFORE: Front
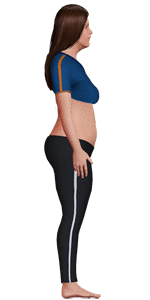 BEFORE: Side
 AFTER: Front
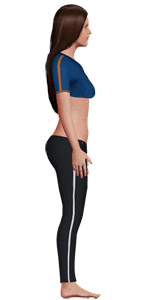 AFTER: Side
3 - Background
Avoid cluttered backgrounds or objects in front of you. Standing against the same neutral, light-colored wall in each photo is best. After all, YOU are the star here!
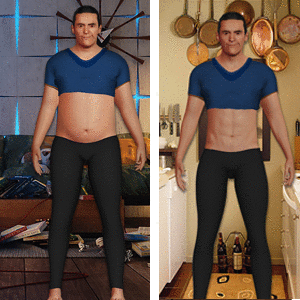 Avoid cluttered backgrounds
4 - Lighting
Early afternoon natural daylight is the most flattering light. Lighting should be even and directly in front of you - never behind you or off to one side. Avoid using a flash and try to take all your photos at the same time of day and place.
 Too Dark
 Harsh side light
 Perfect !
5 - Get an Assistant or Use a Tripod
Selfies with the camera in front of your face or held at an awkward angle won't do your transformation justice. Have a friend take the photos for you or use a tripod and timer on your phone or camera.
6 - Picture Quality
Save the images somewhere safe at the highest resolution possible. If you are emailing them from your phone, be sure to select 'high resolution' or 'large' in your email application.
That's it !
You're on your way to your Isagenix transformation and those amazing after photos ! |